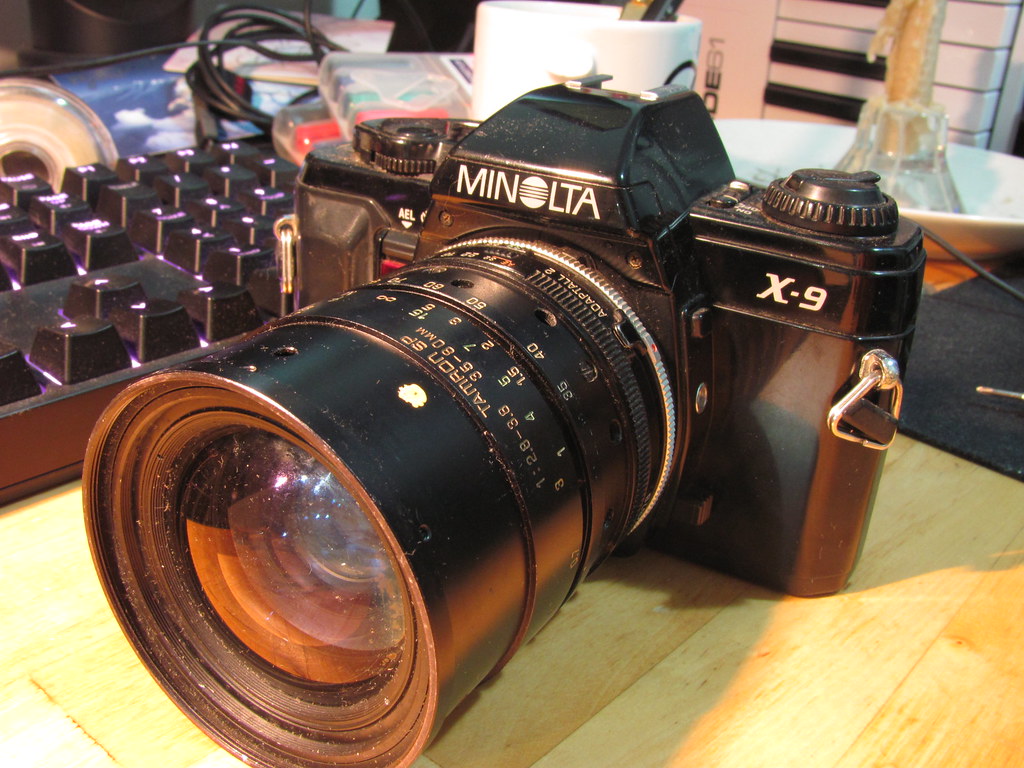
Last year I bought three enlargers from a family friend, who also threw in a bag of other camera stuff. This included a Nikon F4 and a Minolta X-9, neither of which worked properly. The F4 is my dream fix, but it’s a complicated beast. The X-9 (also called/very similar to the X-300S or X-370N) is a simpler machine by anyone’s estimation. Judging by resale prices, it’s considered outright basic. I am getting the impression, though, that it can easily outperform expectations as long as you can look past its gloriously 1980s plastic shell.

According to the internet, many of the later Minolta X series cameras are prone to a capacitor failure. An affected camera will appear to work until the shutter button is fully depressed, at which point the camera will power down; because the shutter never releases, the film advance lever can seem stuck. This Minolta X-9 displayed exactly this issue – the light meter would work on a half-press of the shutter button, but then the camera would die as soon as I pressed further.
I opened the bottom of the camera to have a look. Not without difficulty – I stripped the head of the screw nearest the capacitor in question. It was very stiff and I suspect it was slightly corroded by the residue from the burst capacitor, traces of which could be seen on the underside of the base plate. The plastic at the base of the capacitor, between the pins, was protruding further than it should, indicating that it had burst through the bottom and towards the screw.

The most difficult part of this repair, for me, was learning to solder and desolder. This is a skill that I have come to learn is essential for repairing cameras – almost any camera made after 1970 seems to have parts that can only be removed after certain wires are desoldered (even the Voigtländer Bessamatic, which is a chaotic mechanical masterpiece). Thankfully, there is an electronics retailer in Australia that still provides an abundance of educational materials and affordable supplies for learning to solder. I learned the basics by making a small device with two flashing LEDs. This was a bit challenging, as I had decided to use lead-free solder for safety reasons, and my soldering iron tip was old and corroded; things got easier when I replaced the tip, and I was able to complete the device. Then I tried to unsolder it, found this difficult and gave up, and put it back together. As it still worked, I figured this was a good enough start…
Heady with my success, I dived straight into replacing the capacitor on the Minolta X-9. The old capacitor came off easily enough, so I trimmed and bent the pins of the new capacitor (took a while to find replacements with the same specifications and dimensions, but it is possible) and forged ahead. It’s a bit tricky to get the right alignment, since there’s not much support for the capacitor and you’re soldering it to a flexible circuit. I screwed up the alignment at first and had to re-solder it, and given the higher melting point of lead-free solder I was pretty afraid that I’d cooked something. Doubly so, when I put some batteries into the camera and nothing worked at all.

I checked continuity between the capacitor pins and the next components on the flex circuit, and that was all fine. I measured voltage at the flex circuit and it checked out at around 3V, as it should have. But the camera wouldn’t even turn on. I was certain I’d killed it. And it’s not even a nice-looking paperweight.
When nothing works, go back to basics.
To test the camera, I had been using batteries straight out of my Minolta XE-5. These batteries were powering that camera’s light meter just fine, and they were measuring in at the correct voltage, so I assumed they were ok. But then, just in case, I put in a fresh pair of batteries. I pressed the shutter button. It fired. I pushed the film advance lever. It moved. I did it again. And again. And again.
Now, I know this is a basic camera, a manual focus SLR released at the time Minolta was well into its autofocus phase. It has only two or three more functions than the XE-5, which is about 15 years older. And it looks very much like an SLR and Darth Vader’s suit were spliced in a teleporter incident. However, it’s the first camera that I have resurrected from a state of complete malfunction. I’m pretty pleased with that. And in the process, I’ve seen some indications that the functions it does have are well implemented. When I ran a test roll of film through, it was comfortably familiar to shoot with, and it was plastic enough that I didn’t feel compelled to treat it like porcelain, so I quite enjoyed the experience. I might post a review up here sometime.
Leave a Reply