
Restoring a camera is a twofold operation. You can restore a camera’s function, get it taking photos reliably, make it work the way it should (or as close as possible to how it should). But you can also restore a camera’s appearance, make it look the way it should. On some level, I’m less concerned with the aesthetics of a camera, as long as it doesn’t have a flow-on effect on function. I’d much rather have a working camera that looks a bit scrappy than a shiny camera that can’t take photos. However, if you want to finish the restoration completely, you need to address both aspects.
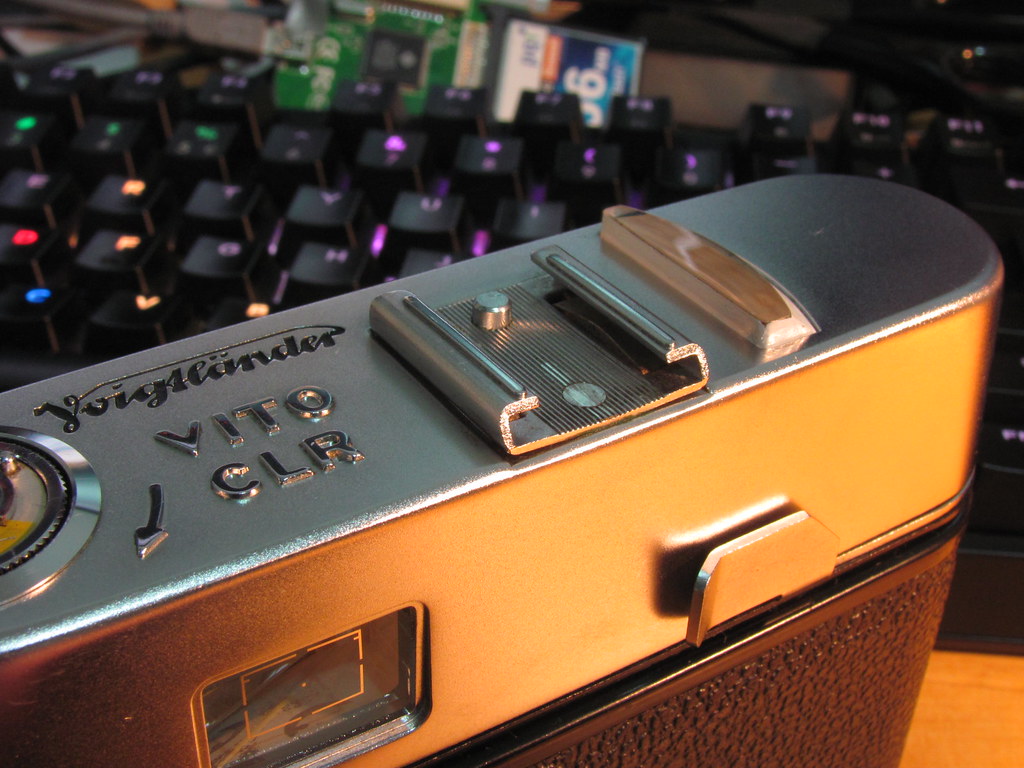
With this (quite obvious) dichotomy in mind, I followed up my recent work on the shutter of my parts bin Voigtländer Vito CLR with some work on the top cover of the camera, and specifically the control window for the exposure meter (to use the user manual’s terminology). The control window was separated from the cop cover and sitting loose in its hole. A few of the pictures on the internet of Vito CLRs that have the front-to-back oriented light meter show a similar state of affairs, so I think this must be a relatively common occurrence. Looking at the removed window and the underside of the top cover, I’m not surprised – the adhesive is rock-hard and looks quite a lot like rust. I’m a bit confused about how it would have originally been attached; it looks as though the adhesive went part of the way up the angled side of the window, but the hole in the top cover is large enough that this should not have been necessary. Given the state of the adhesive and the pictures of other examples, I’d be surprised if there was an example out there with the window intact in its original position (i.e. not restored), so I may never know.
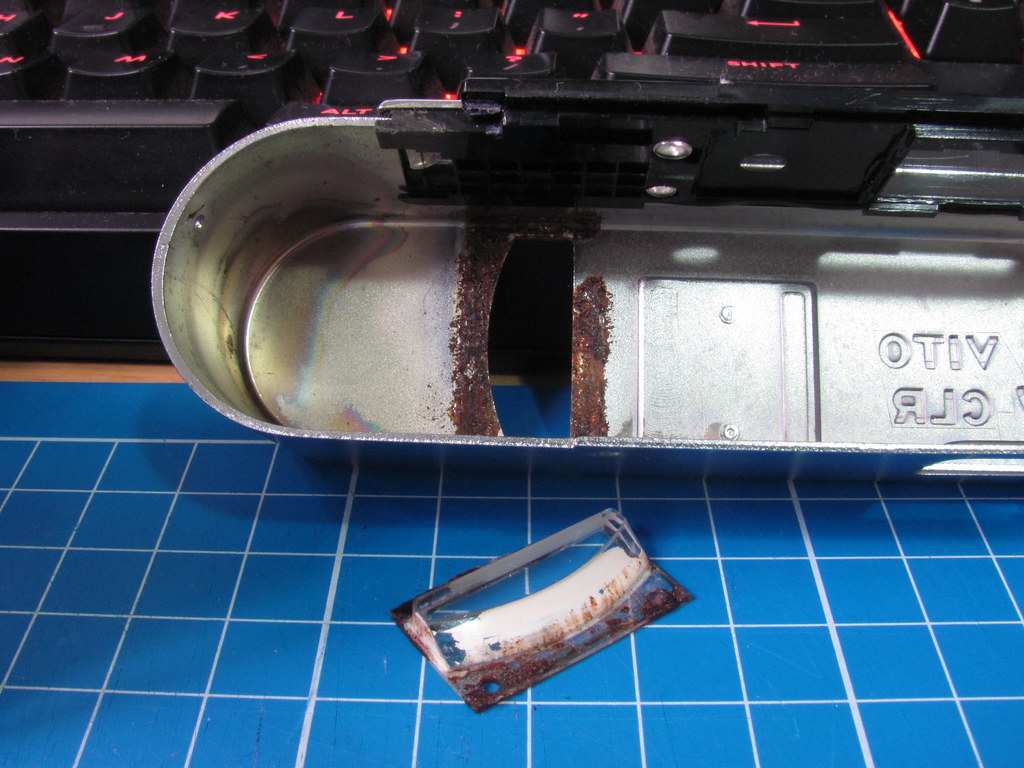
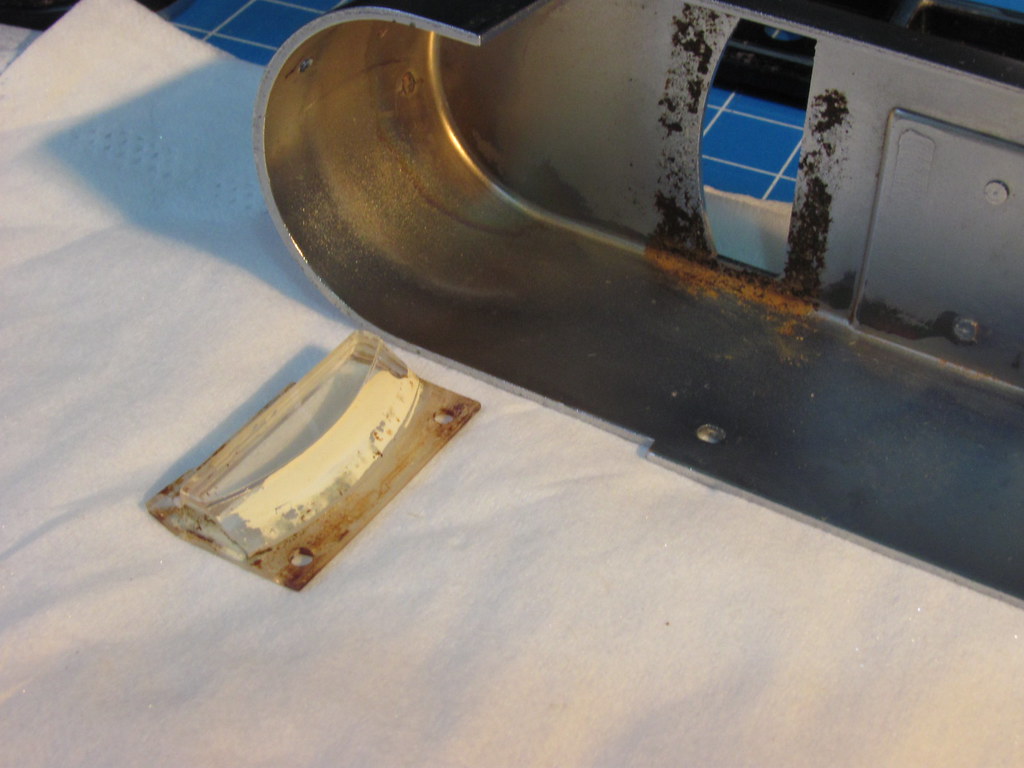
The adhesive was quite stubborn – in fact, it wasn’t until it started dissolving ever so slightly in acetone (nail polish remover) that I realised it definitely wasn’t rust (isopropyl alcohol and naphtha didn’t cut it). The picture below shows how much (or how little) I was able to remove after soaking a tissue in nail polish remover and letting it sit in contact with the adhesive for around 5 minutes, then repeating.
To readhere the window to the top cover, I used some pieces of double-sided tape from a craft store. It’s not particularly heavy duty tape, but it’s nevertheless surprisingly tenacious stuff (it stuck to the semi-smoothed remnants of adhesive just fine, as to the mostly cleaned window) and it’s super easy to trim excess away with a craft scalpel. This shows where the tape went (with backing paper still in place; the piece on the right was trimmed down after the window was in place.

Initially, I readhered the window without addressing its paint. I think the paint is to add diffuse light to the light meter chamber. The meter (that is, the silhouette of the meter needle and the match needle) is reflected along the length of the camera below the rangefinder and then out through the base of the viewfinder, so I’m guessing (please chime in to correct me if I’m wrong) that the diffuse light helps to provide a more stable reflection in changing light conditions. The meter was quite visible in its current state, and I didn’t have any suitable paint, so I didn’t bother to address this at the time. I did, however, take the opportunity to clean all the viewfinder and rangefinder glass while the top cover was off.
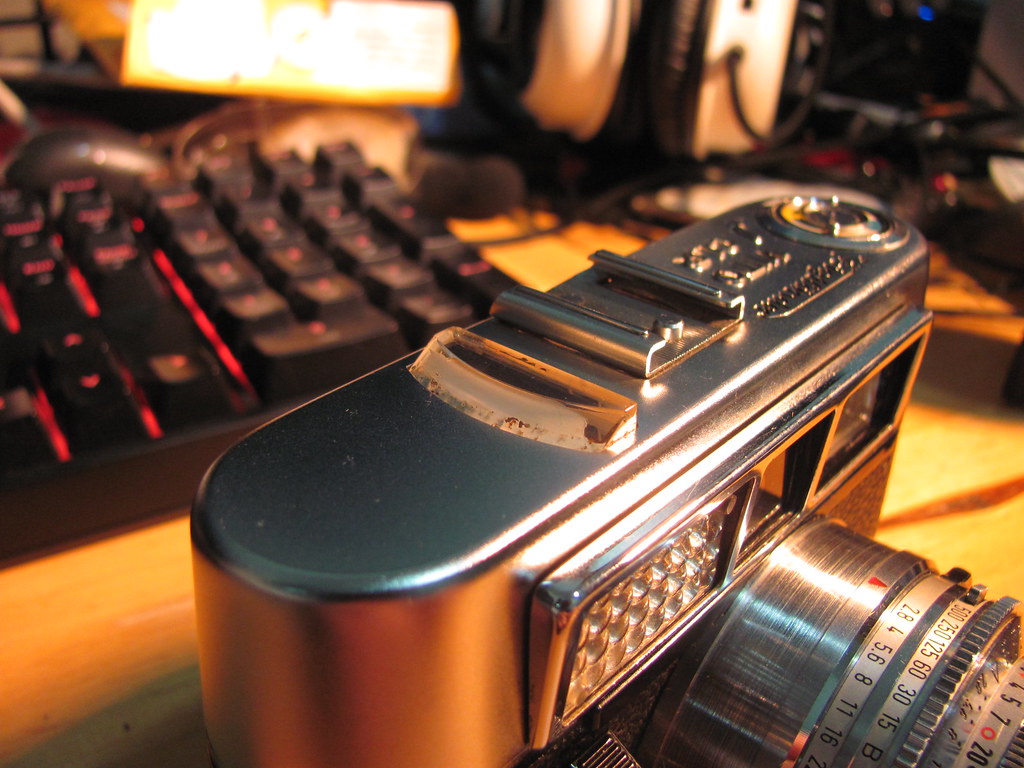
Over the next day or so of thinking it over, I eventually realised I wasn’t really happy to leave the job half done. After all, the whole point of this part of the restoration was aesthetic; the meter already worked with its loose window, so why leave the appearance only half addressed? So I bought a paint pen from an office supplies store that was specifically for use on non-porous surfaces. I masked off the top of the meter with some scotch tape and painted the non-angled sides as a test. Getting an even coat was a little challenging at the edges, but it dried on well enough and with two coats it looked reasonably smooth. However, I hit a snag when trying to mask off the curved side of the top of the window – I had thought I could run the craft scalpel around the curved top to get the scotch tape to match the curve, but this proved too difficult. So I didn’t bother. The top of the curved side has a slight lip, and this was enough of a guide for the pen. Again, two coats and it was just about smooth enough, and the lightest of scrapes around the top edges with the scalpel neatened the edges well. I was a little concerned the two coats might be too thick to let much light through, but it’s fairly thin paint and is still translucent. And, when reattached, the window now looks much tidier. I’m not sure how close it looks to the original (it is very white), but it doesn’t look like a stained, half-gone mess anymore.
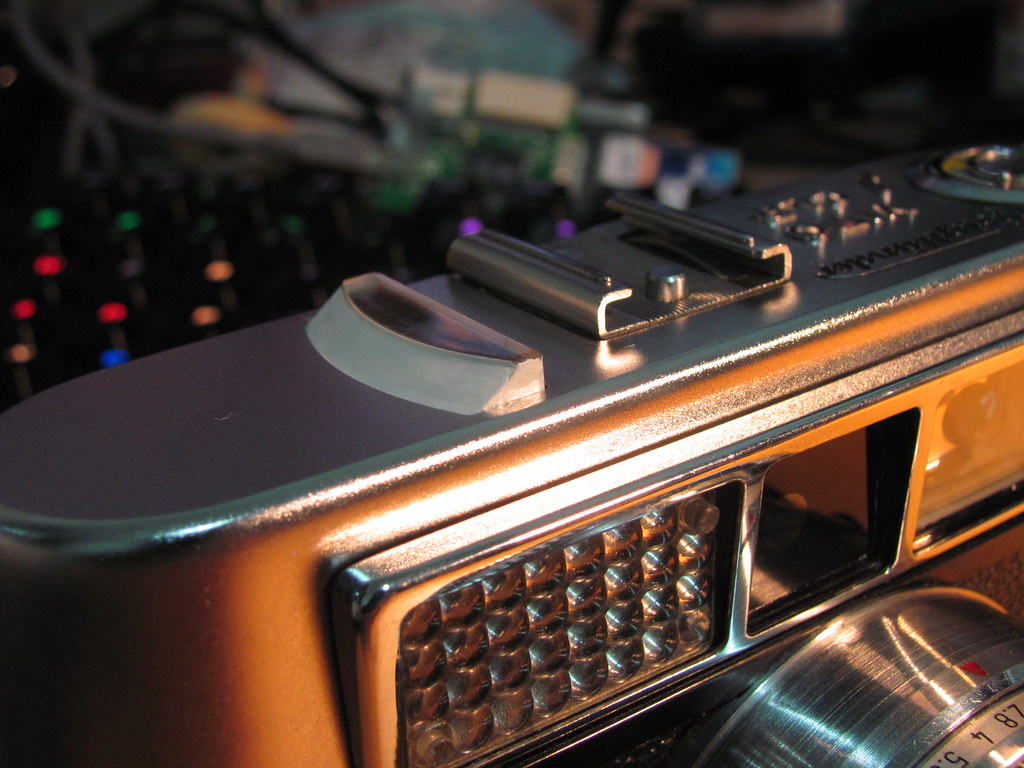
When I picked up the camera after first reattaching the window, it felt more solid, more complete. It was like the camera was itself again and knew it. Maybe I was going a bit loopy on acetone fumes but it was a rather satisfying moment. This camera wasn’t in a terrible condition when I bought it from the parts bin (if it had been, I probably wouldn’t have bought it), and these cameras aren’t especially rare or sought-after, but it is a capable little camera that can hold its own in terms of both functionality and image quality, and it needed some attention. I hope that it enjoys its second chance at life, now that it is hale and whole.
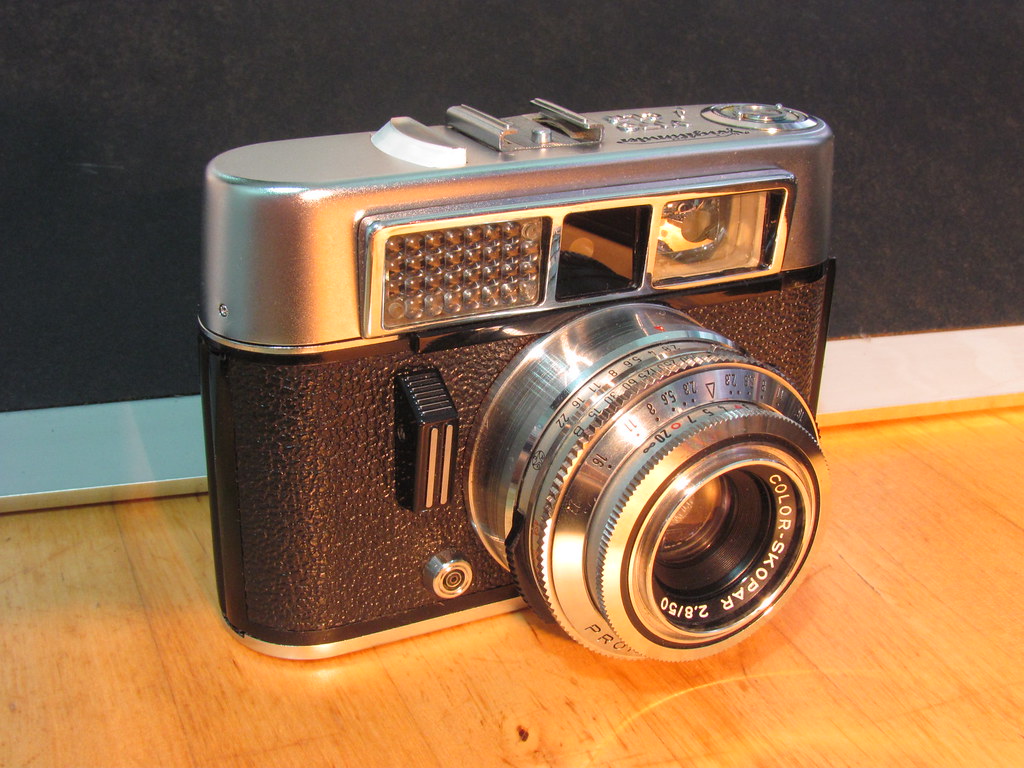
Well, nearly whole. The loop of leatherette around the base of its lens barrel is still missing. But this is Australia. Dressing down is a national pastime.
Leave a Reply