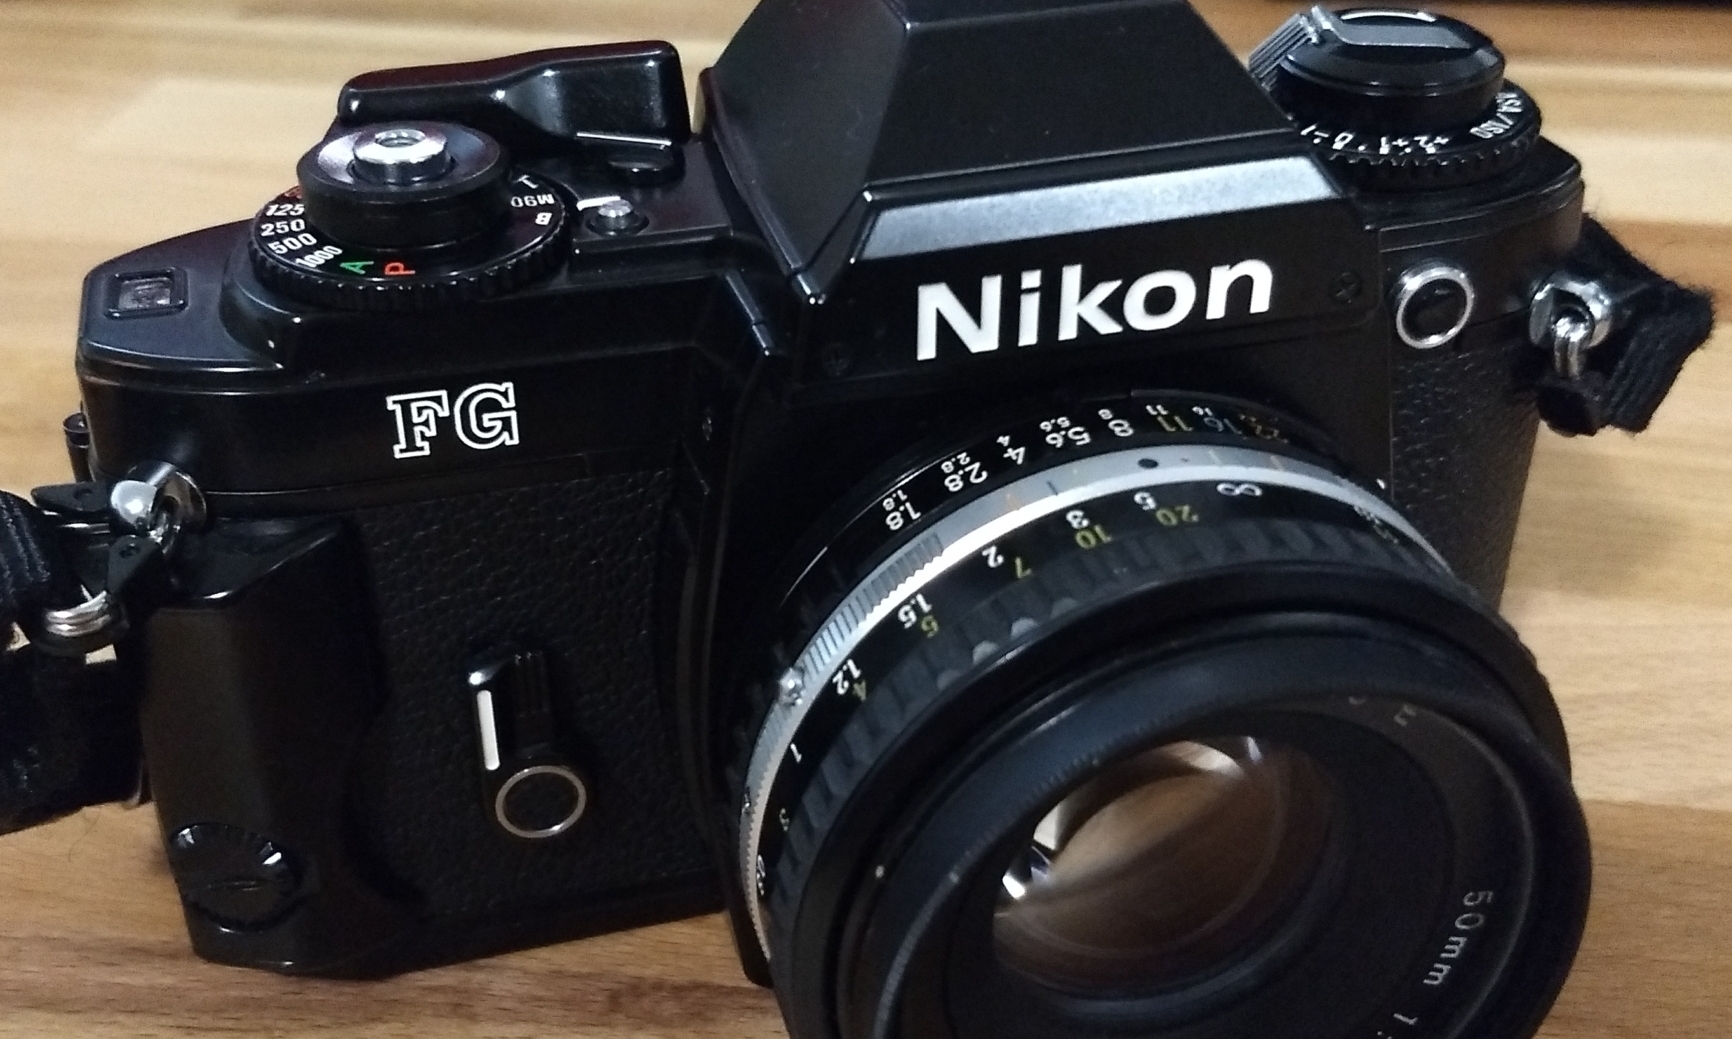
Nikon FG Early Activation Hack

While I was working on the light meter for the Nikon FG, I thought of a ‘fix’ that I’d read about for another issue – making the light meter active as soon as the film door is closed. The FG, by default, will only activate its light meter after the film counter is on 1. If you’re like me, you want to get as many frames out of your film as possible, so activating the camera’s light meter as soon as you’ve put in a new film is useful.

The fix for this that I had read about is to solder a piece of wire between the contacts that detect the position of the frame counter. However, that requires soldering. I’ve moved recently and my soldering iron is in a box somewhere. Can’t be bothered with all that.

A memory surfaced, back from the depths of time, about an overclocking hack for the first generation of Intel Celeron computer processors. As I recall, these processors were protected from overclocking. However, you could bypass this protection by drawing a line between two exposed electronic components on the processor chip with a lead pencil. With this conductive line in place, you could modify some of the processor settings and get moar speeds.

So…

Nikon FG light meter adjustment
Hacky hacky hacky

You can see, on the right, two points of solder that connect the contacts to the black and yellow wires. The sources I’ve seen suggested soldering a small piece of wire between these two. You could also do the same where the black and yellow wires are soldered to the PCB. But I drew a fairly liberal line of 3B pencil lead between the contacts on the PCB, which you can just see as a smudgy grey line. It works. The meter is now active as soon as the film door is closed.

And, if I ever want to revert it to normal behaviour, all I’ll need is an eraser.

Nikon FG Light Meter Alignment

When I acquired an old family friend’s photographic enlargers a couple of years ago, they threw in a bag of other gear. In the bag was a Nikon F4 (still haven’t got it working – one day!) and a couple of lenses: a Series E 100mm and a Nikkor-H 85mm f/1.8. Too much fine glass to leave languishing in a bag. But as a Canon boy from way back, I didn’t have a (working) Nikon to put them to use.

Nikon FG light meter adjustment
Cue impulse buy

I bought a Nikon FG from Kamerastore with a very dim, basically unusable light meter, which dropped its price to about half of what a working model would go for. I figured I could probably do something about that, and that even if not, external light meters are a thing. When I got it, the light meter was indeed very dim, though by moving my eye around the viewfinder I could see that the amount of light would change. This made me suspect that it was an alignment issue rather than bad LEDs or anything else electronic.

The top plate comes off fairly easily, as long as you have a decent small diameter spanner wrench. The best one I’ve found so far is a 100mm divider from a builder’s shop. The points are a bit thick, but it’s basic steel and I can file them down if it becomes necessary.

Nikon FG light meter adjustment
Pointy and stable

The LEDs are on the end of a flex circuit to the left of the prism (with the lens mount away from you). The flex has a connector that is used to adjust how far down the slot between the prism and the body the flex reaches. This essentially adjusts how well aligned the LEDs align with a mask somewhere in that gap that provides the circular shape of the meter LEDs and the arrows of the over- and under-exposure indicators.

The connector has a central screw to fix it in place. There are two screws on either side of the central screw that align the connector once the central screw is loosened or removed. Both adjust the depth of the connector; adjusting to different depths can adjust slightly in the front-to-back axis. These adjustment screws have flanges that sit below the connector, so the connector is sandwiched between the adjustment screws and the central screw (which makes it important not to over-tighten the central screw – according to the repair article I used, this can bend the connector).

Nikon FG light meter adjustment
Before: the larger black screw right in the centre of the picture secures the connector, while the two silver screws beside it adjust the connector’s height

After some trial and error, trying to find the best way to adjust the screws, I turned them all the way down, and the LEDs were definitely improved but still not fully clear – the circles were a bit dim on one side, indicating alignment was still not perfect. I was going in the right direction, but not far enough. The flanges on the adjustment screws are relatively thick, so there was extra room to move downwards if the flanges weren’t a factor. I removed the adjustment screws entirely and just fixed the connector all the way down, but this was too far – much worse. The flanges were too thick but something was still required. I made a spacer out of some film, cutting holes for all three screws, but this was too thin. I then made one from a piece of card that was about half the thickness of the flange, and this produced a nearly perfect alignment.

Nikon FG light meter adjustment
After: the piece of card fits below the connector, which is now secured with all three screws

I suspect this alignment hack was required because something else in the camera is out of alignment – perhaps it’s had a bump at some point in its history. But I’m not too concerned. The light meter is now quite usable – it’s better out of full sun, but it’s usable in daytime and that’s a huge improvement. And I’m really enjoying this camera. Light meter aside (give me a match needle any day) and ignoring the abrupt jolt at the end of the film wind action, it’s a fun and capable little machine. And I do mean little – the smallest and lightest SLR I have by a decent margin. I bought a Series E 50mm f/1.8 to use with it based on some pretty good reviews of this lens (because 50mm is my jam) and the photos from the test roll are clear and pleasant.

Nikon FG test roll

Nikon FG test roll

I’m pretty happy with how this turned out. I know that it’s not the most elegant repair, perhaps not even the most effective, but the camera is far more usable now and that’s what counts. I’ve rescued a camera that was on the verge of the parts bin, in order to make use of photography gear that was going unused, and I think that’s what this whole camera repair thing is all about. For me, at least.